If you enjoy flavouring mayonnaise like me, then this nduja mayo recipe might become your new obsession for the next few months.
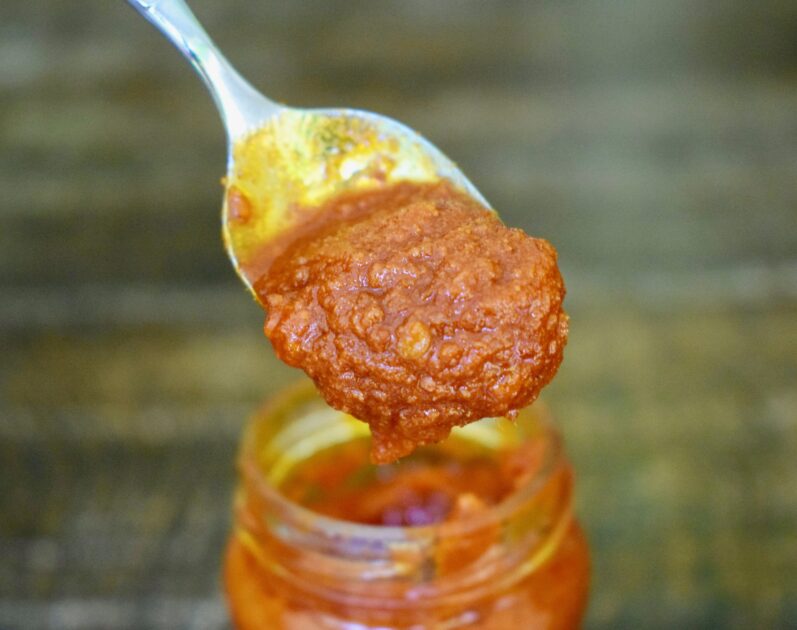
Nduja is a chilli-sausage paste that comes specifically from Calabria, Southern Italy. It is complex, with sweet spicy and sour notes.
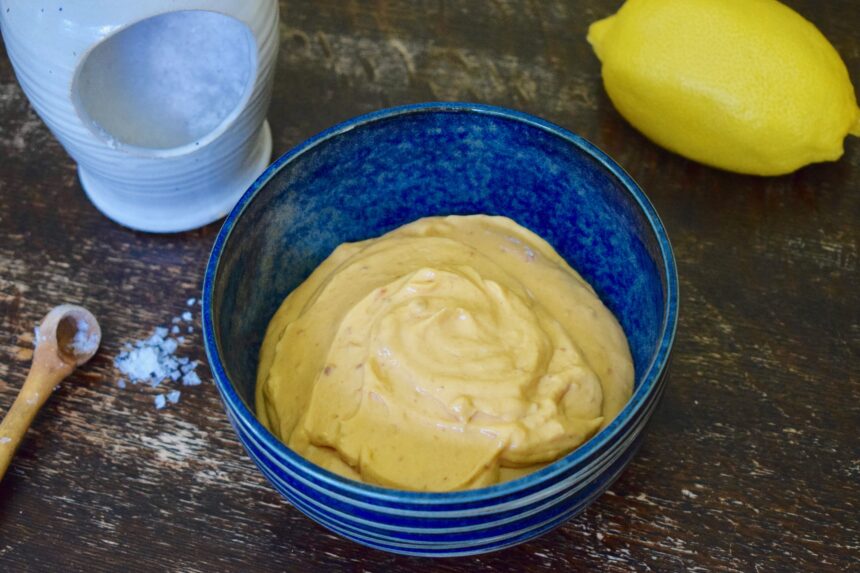
This simple nduja mayo recipe brings out the incredible flavours of the nduja by blending it into a thick and glossy homemade mayonnaise, lifted with a little lemon juice and seasoning, to create a moreish deep-orange sauce.
You can eat this nduja mayo with pretty much anything you have in the fridge, however it is particularly good at taking burgers and sandwiches to another level.
This nduja mayo recipe is different from others because the mayonnaise is made from scratch. I think this step is absolutely necessary because:
- There is little chance of the dreaded ‘splitting’ (which happens very easily with shop-bought mayonnaise)
- It makes a sauce that is thicker, glossier and tastier than any version you could possibly buy
I have tried to make nduja mayo at home a few times, and I believe that this is the only way you can rival the versions you might have sampled in those (admittedly fantastic) burger restaurants in London.

What does Nduja mean and what is it made of?
Nduja (pronounced en-doo-ya) is a spicy, fruity and slightly sour Italian ‘spreadable sausage’ from the Southern Italian Region of Calabria .
Having a rather simple ingredient list (essentially chillies and pork), the ‘wow factor’ of nduja comes from the processing and the combination of the chillies used.
Nduja is DOP-protected, meaning there are strict rules about the provenance of the paste. Perhaps the most important rule is that the chillies have to be Calabrian. These Calabrian chillies give the nduja unique fruity and sweet notes, which I think really come to the fore in this nduja mayo recipe!
To make nduja, these unique Calabrian chillies are ground with the pork into a mixture, which is then stuffed into casings. The casings then go through 2-3 final processing stages before they can be officially be called ‘nduja’:
- A short fermentation period in a warm room – this gives the nduja a slight pleasant sourness. Interestingly, fermenting sausage to make it sour is not unique to Calabria – the Thai sausage ‘naem’ (see photo below) is strongly sour for similar reasons (and interestingly is also eaten with lots of chilli – but in this case straight-up raw Thai chillies!).
- Ageing – for a longer period (45 days to 1 year)
- Smoking – originally done to help preserve the sausage, smoking is now an option, down to the producer’s flavour preference. In my experience, you can only easily find the unsmoked version here in the UK.

The Thai sausage ‘naem‘ is similar to Nduja in that the meat is left to ferment, giving the sausage a distinct sour taste. Naem is also mixed with chilli, but in this case it is done by the diner, who usually takes a small bite of a raw birdseye chilli to ‘chase’ the sour sausage!
All of these processes give layers of complexity to the nduja, making it such an incredible ingredient. This mayonnaise is an excellent way to use nduja in my opinion because it really showcases the complex flavours of nduja.
What can I use this Nduja mayo with?
This nduja mayo recipe is so moreish that, if you are anything like me, you will end up dipping anything and everything into it.
However, it goes particularly well in all sorts of sandwiches. Over the past few years it has also featured as an ingredient in many an ‘upmarket’ burger restaurant (which is where I originally fell in love with it).
Here are a couple of uses to give you some inspiration:
- Fried egg breakfast sandwich – toasted bread, a thick layer of nduja mayo, fried egg with runny yolk, thinly sliced spring onions
- Burgers – you would be perfectly happy to have it with the beef patty alone. Or you could go extravagant like with the delicious Baggio Burger from Honest Burgers (my recreation in the photo below) – beef patty, nduja mayo, salsa verde, mozzarella, crispy parma ham.
- Antipasti spread – spread on pieces of bruschetta, serve with: cured meat, ripe cheeses, olives, dressed rocket etc.

My first attempt at recreating the ‘Baggio Burger’ – an incredible burger from Honest Burgers Holborn restaurant that combines nduja mayo with salsa verde, crispy parma ham and mozarella. You can see that the mayonnaise has split – this is what happens if you try to mix nduja with shop-bought mayonnaise!
Cooking notes
Why It’s is best to make your own mayonnaise
When recipes have very few ingredients, then more often than not it pays to have the best ingredients. Nduja mayo certainly fits into this category.
Given that nduja is DOP-protected it is pretty much a given that it will be good quality. This just leaves the mayonnaise.
I think that making your own mayonnaise is the only way to go here, for a few good reasons:
- Reliability – adding nduja paste to shop-bought mayo can easily split the mayonnaise. Although the splitting itself doesn’t affect the flavour, you don’t get the same smooth, deep-orange look.
- There is no better quality mayonnaise than homemade stuff – making the mayo by hand gives you a mayonnaise that is thicker, glossier and tastier than any shop-bought equivalent. And if you follow my instructions below, you can achieve this every single time.
Trust me on this one – it’s worth a bit of whisking!

You can’t rival the beautiful thickness of homemade nduja mayo by trying to make it with a shop-bought version
Tips for making your own mayo
The basic principle of making your own mayonnaise in a sentence is – slowly whisk oil into egg yolk to make a smooth emulsion (mixture).
These are my top tips that will allow you to make beautiful nduja mayo everytime.
- 1 – Use a motorized or hand whisk – I like to whisk my mayonnaise with a standard balloon whisk, and if it is your first time making your own mayonnaise then I recommend you do too. It might be harder work, but you can really see and feel what is going on, which reduces the chance of splitting and sets you in good stead for future cooking. However, a motorized whisk is quicker and less tiring if you are more confident. I would avoid food processors – often the blade is too high to catch the egg yolk, and it doesn’t mix with the oil at the crucial first stage.
- 2 – Treat the nduja as if it were oil – the nduja is very fatty. It therefore behaves in this circumstance as if it were oil (hence shop bought mayo tends to split when you add nduja to it). Therefore, like the oil, you should only whisk in the nduja gradually, in small spoonfuls. The order in which you add nduja vs oil doesn’t really matter.
- 3 – Add the oil/nduja slowly at first – the mayonnaise is most likely to split at the start. Start by adding the oil drop by drop, with continual whisking. You can eventually add the oil in a more gradual stream once you can feel the mayonnaise becoming thicker.
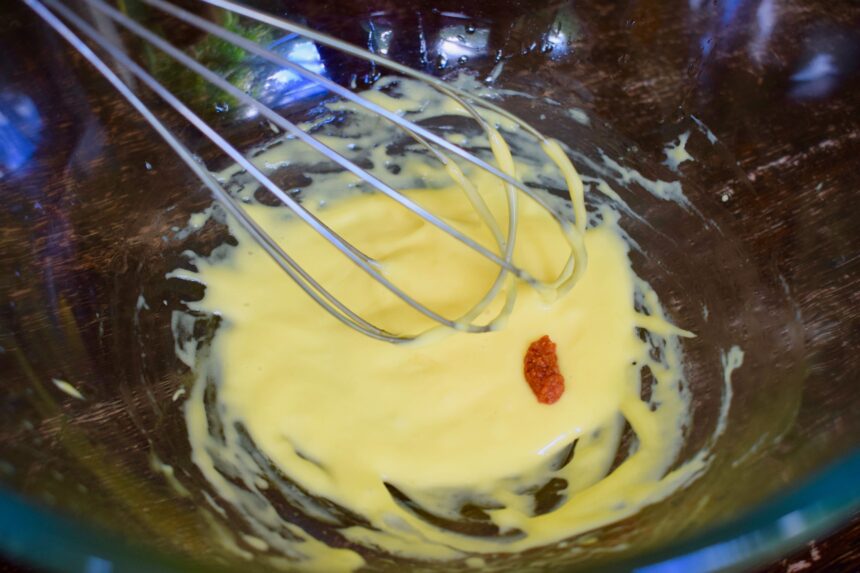
Only add nduja to your mayonnaise half a teaspoon or so at a time to avoid splitting the mayonnaise
- 4 – If it gets too thick to beat, let it down – One of the great things about making mayonnaise yourself is that you can get it beautifully thick. However, sometimes it can get too thick to even whisk! If this happens, add some/all of the lemon juice to let it down. If you feel you have added enough sourness and still need to loosen, a small amount of cold water will do the same job.
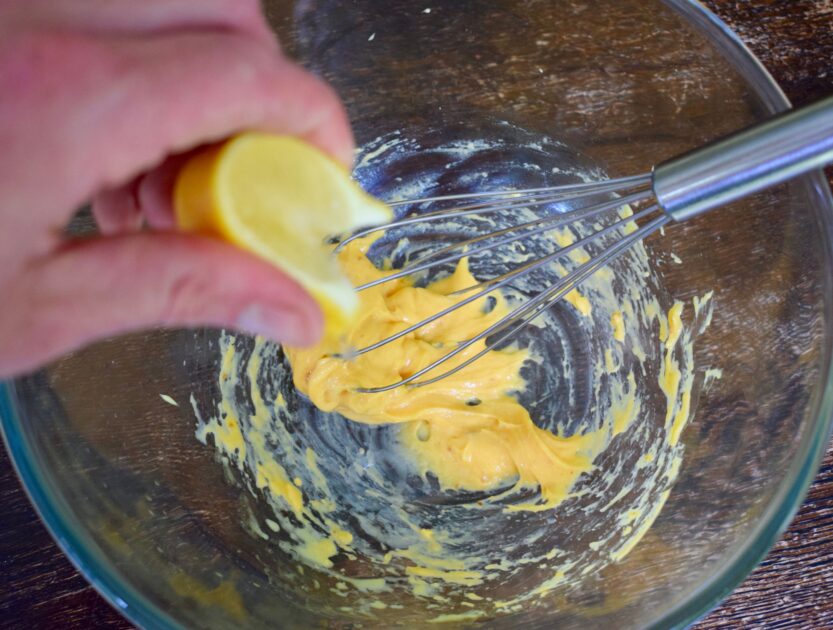
Adding liquid (e.g. lemon juice) makes the mayonnaise thinner and easier to work with
- 5 – Use a neutral oil – although it might seem tempting to use olive oil, I don’t think it ever works in mayonnaise because the flavour is overpowering. Use any neutral oil (e.g. vegetable or sunflower oil).
Ingredient notes
Where to buy nduja
Nduja is becoming increasingly popular as an ingredient and can now be bought fairly easily in the UK.
As of the time of writing, the only Supermarket that stocks nduja as an ingredient is Waitrose. I used this and it is decent quality (good enough to be eaten spread on bruschetta) at a mid-range price.
If you go online or to your local Italian deli then you will find different nduja brands, which can vary in quality and price (some better, some worse than the Waitrose version).

Nduja Mayo Recipe
Ingredients
- 6 heaped teaspoons nduja paste
- 250 ml neutral oil e.g. sunflower oil
- 1 egg yolk
- Lemon juice to taste I used about a quarter of a lemon
- Pinch of salt
Instructions
Making the Mayonnaise
- Get a large bowl and find a position where you will be comfortable whisking its contents without needing to hold the bowl steady (I find that a heavy glass bowl on a flat surface works). This will free-up your non-whisking hand for pouring the oil. Separate the egg yolk from the white and drop it into the bowl.
- Begin whisking the egg yolk with one hand* and start adding your oil with the other, drop by drop. Careful – if you add the oil too quickly at this stage, the mixture might split. After a few minutes you will be confident that the mixture has started emulsifying (it will appear uniform and have begun to thicken – see photos in my article if you need an idea of what this looks like). At this point you can begin to add the oil in larger amounts, still continuously whisking.
- If the mixture becomes too thick to whisk at any point, you can add a some liquid to loosen it up. A small squeeze of lemon juice would do the trick. If you have already added all of the lemon juice and still need to loosen (or if you have tasted and the mayonnaise is sour enough for your liking), you can add a splash of cold water instead.
Flavouring the Mayonnaise
- Once all of the oil has been added you should have a lovely thick yellow mayonnaise. Now you can add the nduja paste about half a teaspoon at a time, using the same whisking technique as with the oil.
- Once all of the nduja has been added, squeeze and stir in the lemon juice (unless you already used all it for loosening earlier).
- Season to taste with salt.
- The mayonnaise can be eaten straight away. Or you can keep it in the fridge, but not longer than around 5 days.